Installing the DVD cable
Use this information to install the DVD cable.
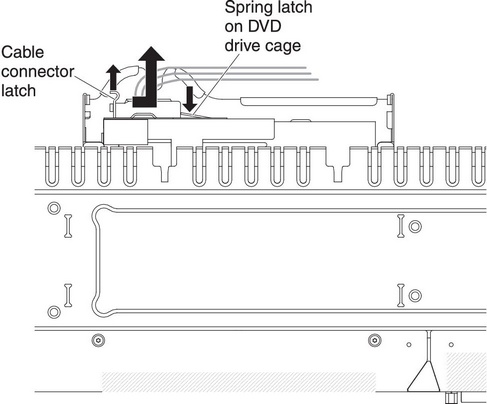
To install the DVD cable, complete the following cable:
- Pull the cable connector latch up and hold it there while you slide the cable connector to the left; then, slide the cable connector latch down to lock the cable in place.Figure 1. DVD cable installation
 The following illustration shows the cable routing for the DVD cable:Figure 2. DVD cable connection
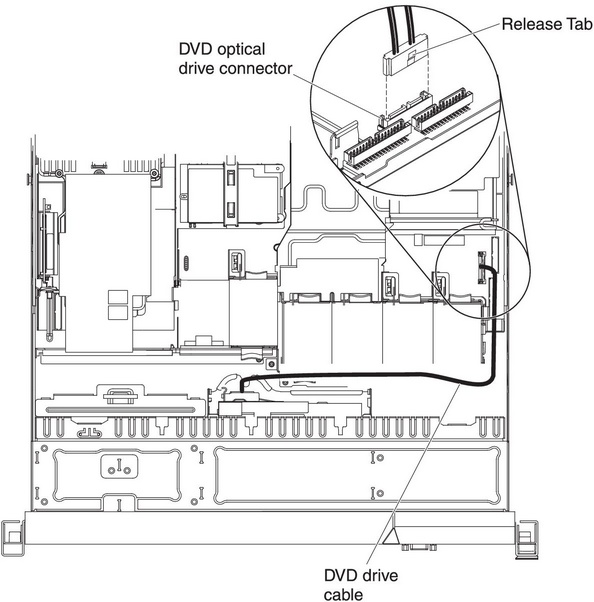
Give feedback