
Removing a simple-swap SATA drive

Use this information to remove a simple-swap hard disk drive.

To remove a simple-swap SATA drive, complete the following steps:

  1. Read the safety information that begins in Safety and Installation guidelines.
  2. Turn off the server (see Turning off the server) and all attached peripheral devices. Disconnect all power cords; then, disconnect all external cables as necessary to replace the device.
  3. Remove the filler panel from the front of the server.
  4. Press the release latch and pull the drive out of the bay.
    Figure 1. 3.5-inch simple-swap hard disk drive removal
    3.5-inch simple-swap hard disk drive removal
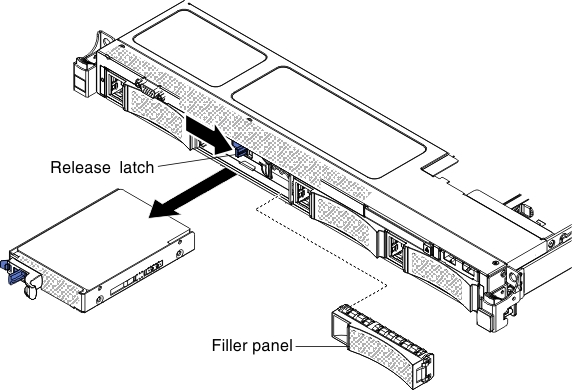
    Figure 2. 2.5-inch simple-swap hard disk drive removal
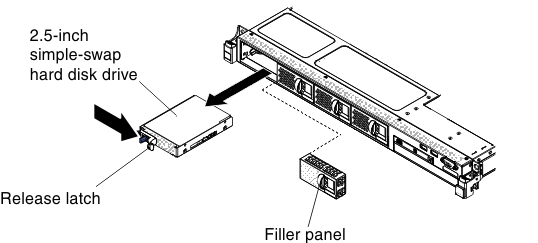
    2.5-inch simple-swap hard disk drive removal
  5. If you are instructed to return the drive, follow all packaging instructions, and use any packaging materials for shipping that are supplied to you.