Replacing the simple-swap hard disk drive backplate assembly
Use this information to replace the simple-swap hard disk drive backplate assembly.
You must turn off the server before installing simple-swap drives in the server. Before you install a simple-swap SAS or SATA hard disk drive, read the following information. For a list of supported hard disk drives, see the Lenovo ServerProven website.
Read the safety information in Safety and Installation guidelines.
If you are replacing a server component in the server, you need to turn off the server and peripheral devices, and disconnect the power cords and all external cables.
To install the simple-swap hard disk drive backplate assembly, complete the following steps:
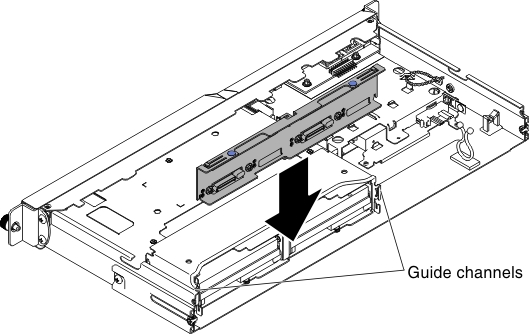
- Reconnect the cables to the replacement backplate assembly.
- Slide the backplate assembly into the guide channels, making sure that any nearby wires or cables are not trapped or pinched.
- Press on the two blue touch points firmly until the backplate assembly is fully seated. .
- Install the cover (see Replacing the cover).
- Replace the hard disk drives.
- Reconnect the power cords and any cables that you removed.
- Turn on the peripheral devices and the server.
Give feedback