This topic provides the steps for installing disk drives.
- Drives can be installed in the control enclosure or any of the expansion enclosures. The installation procedure is the same for either enclosure type.
- Drives can be installed while the system is operational.
- Install all the drives that you require before reconfiguing the system. This allows the best provisioning of drives into arrays.
- New drive options become available on a regular basis. Ensure that the system machine code level supports the drive. If necessary, update the machine code before installing the drives.
To install a drive, complete the following steps.
- Remove the filler panel from the bay into which you want
to install the drive (as shown in Removing a filler panel).
- Insert a finger into the square hole on the left side of the filler panel to grip and pull the filler panel out of the drive bay.
- Save the filler panel for future use.
Figure 1. Removing a filler panel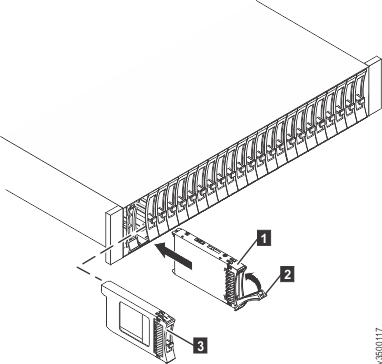
- 1 Drive-tray assembly
- 2 Drive handle
- 3 Filler panel
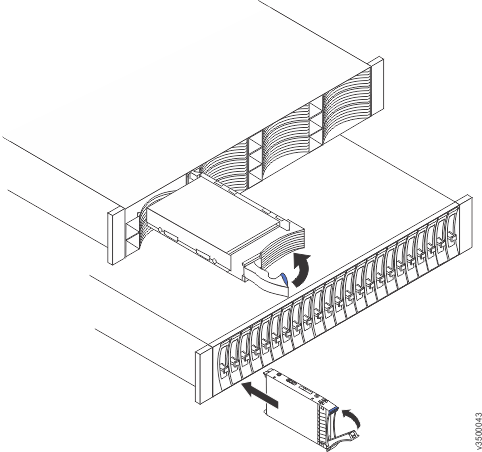
- Install the drive in the empty bay as shown in (Installing a drive).
- Ensure that the drive-tray handle is in the open (unlocked) position.
- Align the drive assembly with the guide rails in the bay.
- Gently push the drive assembly into the bay until the drive stops.
- Rotate the drive handle to the closed (locked) position.
Figure 2. Installing a drive