Removing a simple-swap hard disk drive
The drive ID that is assigned to each drive is printed on the front of the server. The ID numbers and the drive bay numbers are the same. For detailed information, see Front view.
Attention:
- To avoid damage to the hard disk drive connectors, make sure that the server cover is in place and fully closed whenever you install or remove a hard disk drive.
- To ensure adequate system cooling, do not operate the server for more than two minutes without either a hard disk drive or a filler installed in each bay.
To remove a simple-swap hard disk drive, do the following:
- Remove a simple-swap hard disk drive.
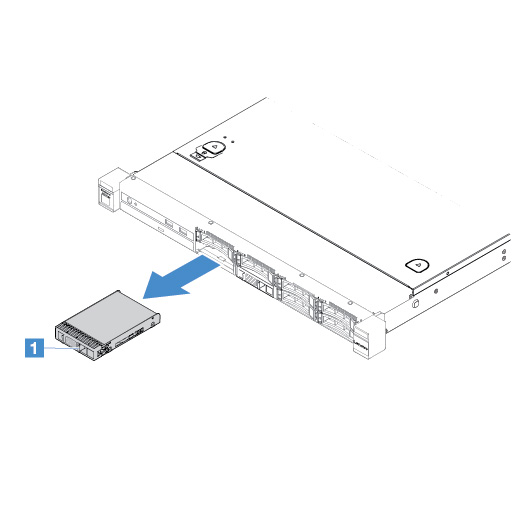
- For the 2.5-inch drive, slide the release latch 1 to the left and pull the hard disk drive out of the drive bay at the same time.Figure 1. 2.5-inch simple-swap hard disk drive removal
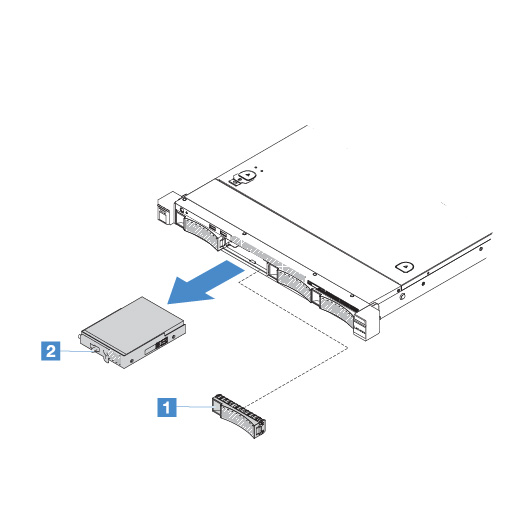
- For the 3.5-inch drive, remove the drive bay filler 1 from the server. Then, slide the release latch 2 to the right and pull the hard disk drive out of the drive bay at the same time.Figure 2. 3.5-inch simple-swap hard disk drive removal
Give feedback