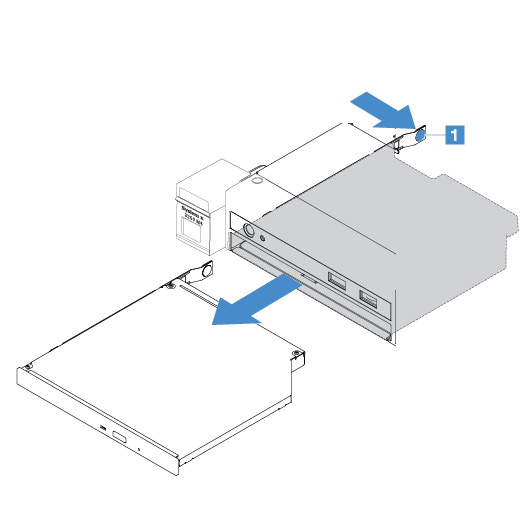
Removing the optical drive
To remove the optical drive, do the following:
- Press the release tab 1 as shown, hold the optical drive, and push the drive from the rear at the same time to slide it out of the bay.Figure 1. Optical drive removal
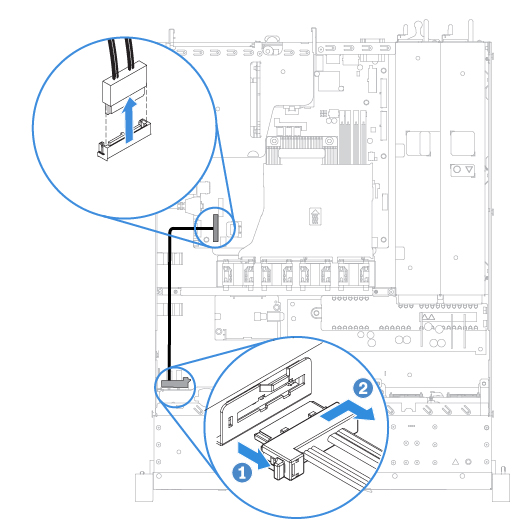
- Disconnect the optical drive cable.Figure 2. Optical drive cable disconnection
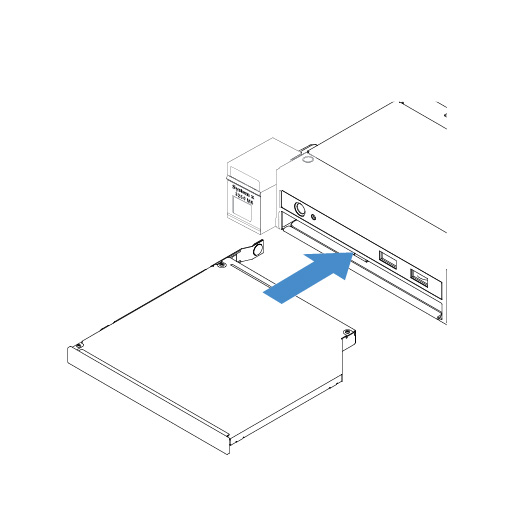
- Attach the drive retention clip that you removed from the optical drive to the side of the optical drive filler. See Installing the optical drive. Then, slide the optical drive filler into the optical drive bay until the optical drive filler clicks into place.Figure 3. Optical drive filler installation
Give feedback