Replacing software RAID simple-swap hard disk drive backplate with hardware RAID simple-swap hard disk drive backplate
Use this information to replace software RAID simple-swap hard disk drive backplate with hardware RAID simple-swap hard disk drive backplate.
Read the safety information in Safety and Installation guidelines.
If you are replacing a server component in the server, you need to turn off the server and peripheral devices, and disconnect the power cords and all external cables.
To replace the software RAID simple-swap hard disk drive backplate with hardware RAID simple-swap hard disk drive backplate, complete the following steps:
- Disconnect the cable connections between the backplate and both the system board and power supply (fixed or redundant).Figure 1. Software RAID signal cable routing for fixed power supply.
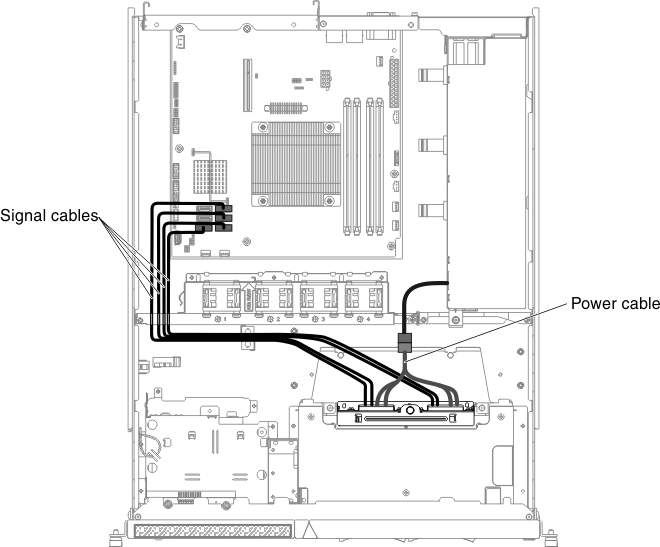 Figure 2. Software RAID signal cable routing for redundant power supply.
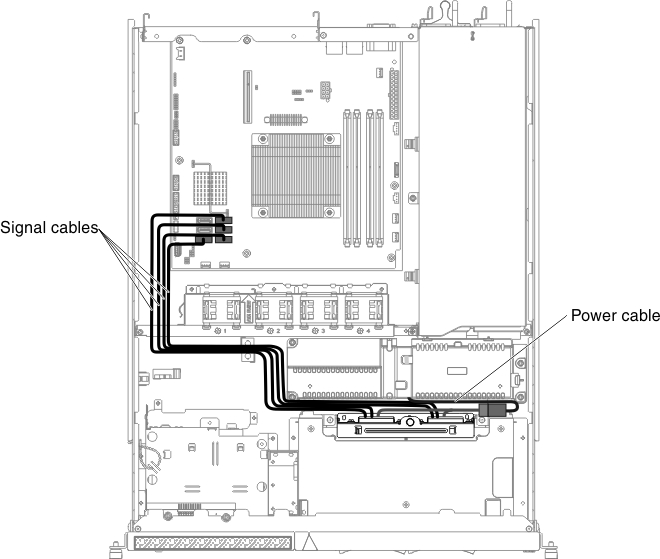
- Connect the respective signal and power cables of the replacement backplate to the hardware RAID card and power supply (fixed or redundant).NoteMake sure the relevant cables pass through the cable clips.Figure 3. Hardware RAID signal cable routing for fixed power supply (Hardware RAID card inserted on right side)
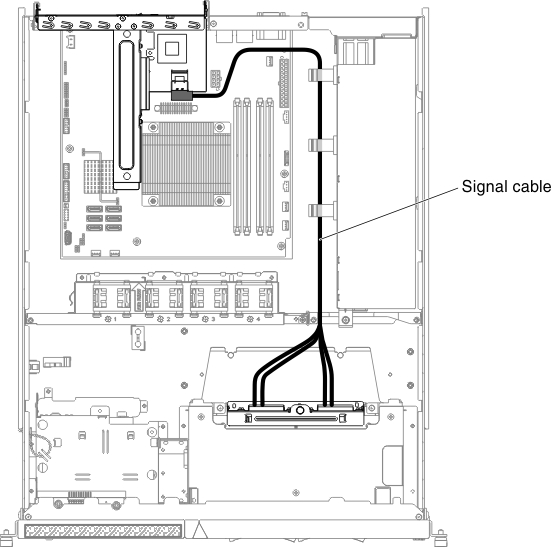 Figure 4. Hardware RAID signal cable routing for fixed power supply (Hardware RAID card inserted on left side)
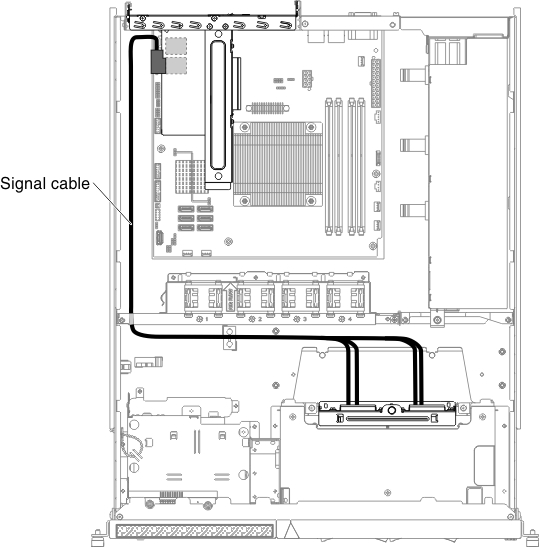 Figure 5. Power cable routing for fixed power supply:
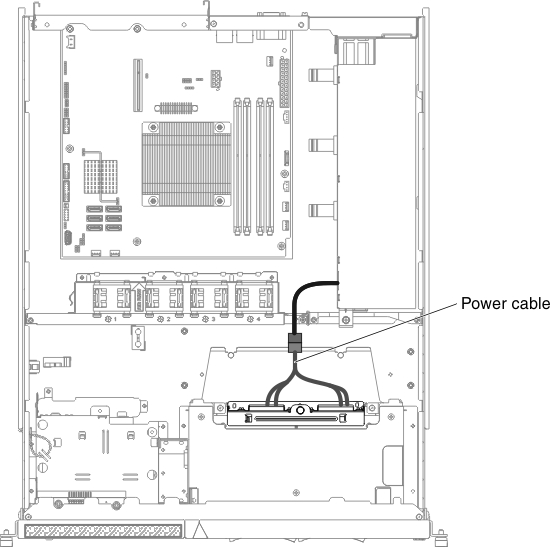 Figure 6. Hardware RAID signal cable routing for redundant power supply (Hardware RAID card inserted on right side)
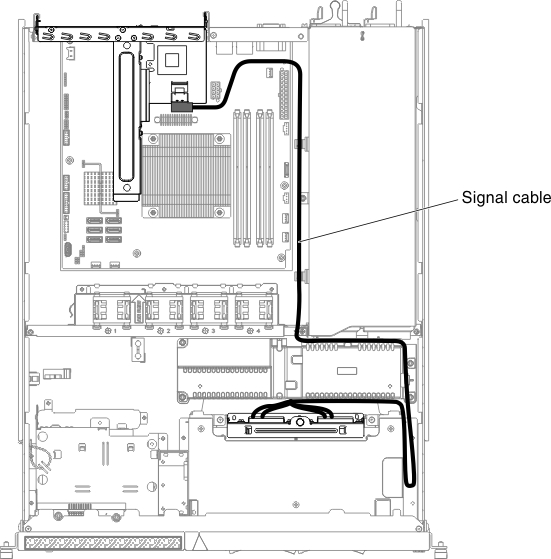 Figure 7. Hardware RAID signal cable routing for redundant power supply (Hardware RAID card inserted on left side)
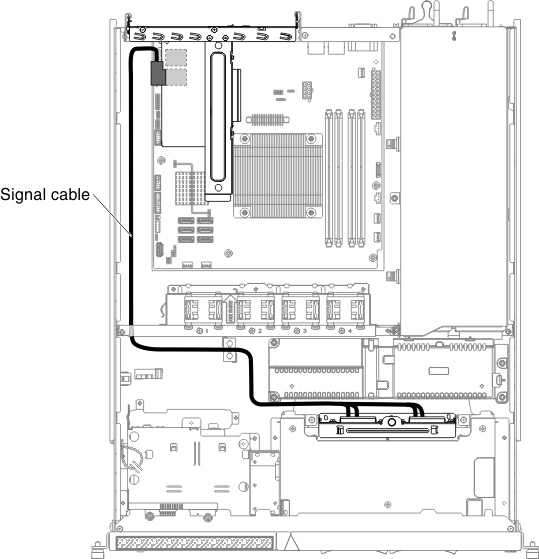 Figure 8. Power cable routing for redundant power supply:
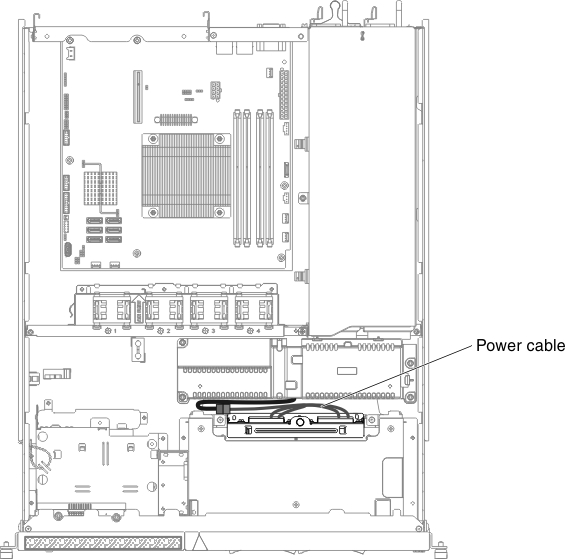
What to do next
- Slide the server into the rack.
- Reconnect the power cords and cables that you removed.
- Turn on all attached devices and the server.
Give feedback