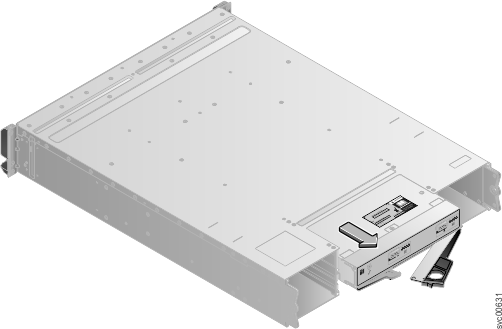
This topic describes how to replace an expansion canister.
Attention: Even though many of these components are hot-swappable,
they are intended to be used only when your system is not active (no
I/O operations). If your system is powered on and processing I/O operations,
go to the management GUI and follow the fix procedures. Initiating
the replacement actions without the assistance of the fix procedures can result in loss
of data or loss of access to data.
Be careful when you are replacing the hardware components that are located in the back of the system that you do not inadvertently disturb or remove any cables that you are not instructed to remove.
Be aware of the following canister LED states:
- If the power LED is on, do not remove an expansion canister unless directed to do so by a service procedure.
- If the power LED is flashing or off, it is safe to remove an expansion canister. However, do not remove an expansion canister unless directed to do so by a service procedure.
Attention: Even if an expansion canister is powered
off, it is still possible to lose data. Do not remove an expansion
canister unless directed to do so by a service procedure.
To replace an expansion canister, perform the following steps:
- Grasp the handle between the thumb and forefinger.
Note: Ensure that you are opening the correct handle. The handle locations for the node canisters and expansion canisters are slightly different.
Handles for the upper and lower expansion canisters overlap each other. The handle with the finger grip on the left removes the upper canister (1). The handle with the finger grip on the right removes the lower canister (2).
Figure 1. Rear of expansion canisters that shows the handles.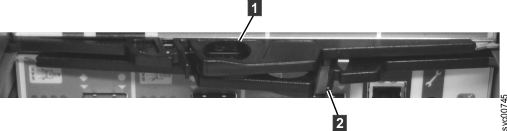
- Squeeze them together to release the handle.
Figure 2. Removing the canister from the enclosure