Replacing an expansion canister

You can replace a faulty expansion canister with a new one received from CRU / FRU stock.

Attention: Although many components are hot-swappable, they are intended to be used only when your system is not active (no I/O operations). If your system is powered on and processing I/O operations, go to the management GUI and follow the fix procedures. Initiating the replacement actions without the assistance of the fix procedures can result in loss of data or loss of access to data.

Be careful when you are replacing the hardware components that are located in the back of the system. Do not inadvertently disturb or remove any cables that you are not instructed to remove.

Do not remove an expansion canister unless directed to do so by a service procedure.

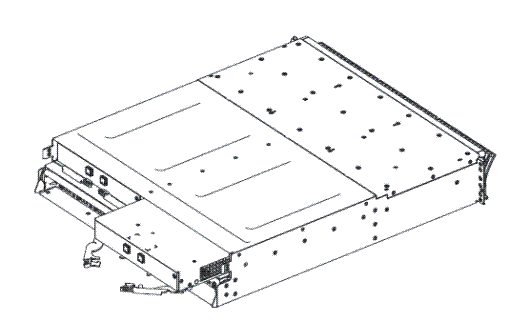
To replace an expansion canister, complete the following steps:

  1. Read the safety information in Preparing to remove and replace parts.
  2. Refer to Procedure: Understanding volume dependencies to determine whether to carry out this procedure.
  3. Carefully identify the expansion canister you are replacing.
    In the management GUI, select Monitoring > System. Use the dynamic image of the system to select the expansion enclosure that contains the canister that you are replacing. Right-click the canister and select Identify to set the fault LED on the canister to start blinking.
  4. Record which SAS cables are plugged into the specific ports of the expansion canister.
    The cables must be inserted back into the same ports after the replacement is complete; otherwise, the system cannot function properly.
  5. Disconnect the SAS cables from the canister.
  6. Open the two release levers (Removing expansion canister from enclosure).
    The canister moves out of the slot approximately 0.6 cm (0.25 inch).
  7. Slide the canister out of the slot.
  8. Open the release levers of the replacement canister.
  9. Push the replacement canister into the slot until it stops.
  10. Finish inserting the canister by closing both release levers, so that both orange catches click into place.
    The canister is correctly installed when the rear face of the canister is flush with the rear edge of the enclosure.
    If the enclosure is powered on and the canister is correctly installed, the canister starts automatically.
  11. Reattach each SAS cable into the port from which it was removed in step #v3700_rplc_expcan/disconnect_sas_cables.
    1. Ensuring the SAS cable connectors are inserted with the pull tab to the bottom of the connector, gently push the connector in until a slight click is felt or heard.
    2. Verify that the connector is fully inserted by gently pulling on it (not on the tab).
      You should not be able to remove it.
      If the enclosure is powered on and the SAS connector is correctly inserted into the port, the green SAS link LED above the port lights up.
    Figure 1. Removing expansion canister from enclosure
    Release lever engaged with canister ready to be removed