Use this information to replace the front USB assembly.
Note: The front USB assembly is available only on some models.
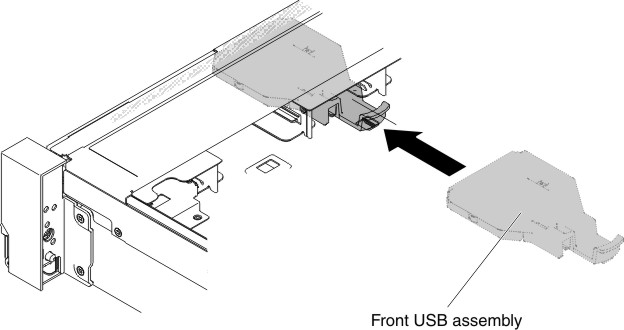
To install the front USB assembly, complete the following steps.
- Align and slide the front USB assembly into the server
until it clicks into place.
Figure 1. Front USB assembly installation
- Connect the cable on the front USB assembly to the system
board.
The following illustration shows the cable routing for the front USB assembly.Figure 2. Front USB assembly cable routing
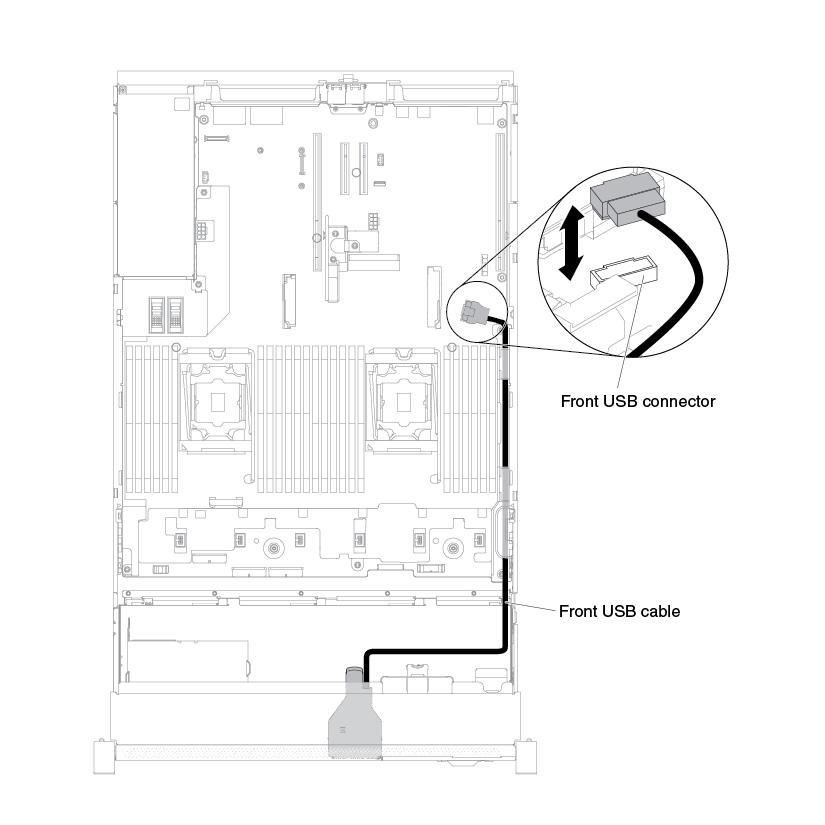
Note: To connect the front USB assembly cable on the system board, press evenly on the cable. Pressing on one side of the cable might cause damage to the cable or connector.